Redbubble Earn Money online website is also one of the print-on-demand platforms which gives earning potential to the creators with some photo design knowledge. People have submitted their artwork with products and the rest of the process like printing physically, distributing, and handling customers are managed by Company Redbubble.
The working process of Redbubble and Teespring is almost the same. If you need the alternative of Redbubble or want to earn from multiple similar websites you can check our Teespring Article named “Online Earning by Teespring”
Table of Contents
Getting started with Redbubble
In order to get started with redbubble, the first thing you have is your will power and basic photo design or graphics design skills. Although sells on redbubble no depend on the quality of design unless and until it is noticed by redbubble and customers. Wants to earn money while doing what you love and want financial freedom then stick with us.
1. Signup
When you visit rebubble.com you will see the interface showing below and having signup option on the top right corner or you can directly signup from the link below:
Signup link: https://www.redbubble.com/signup
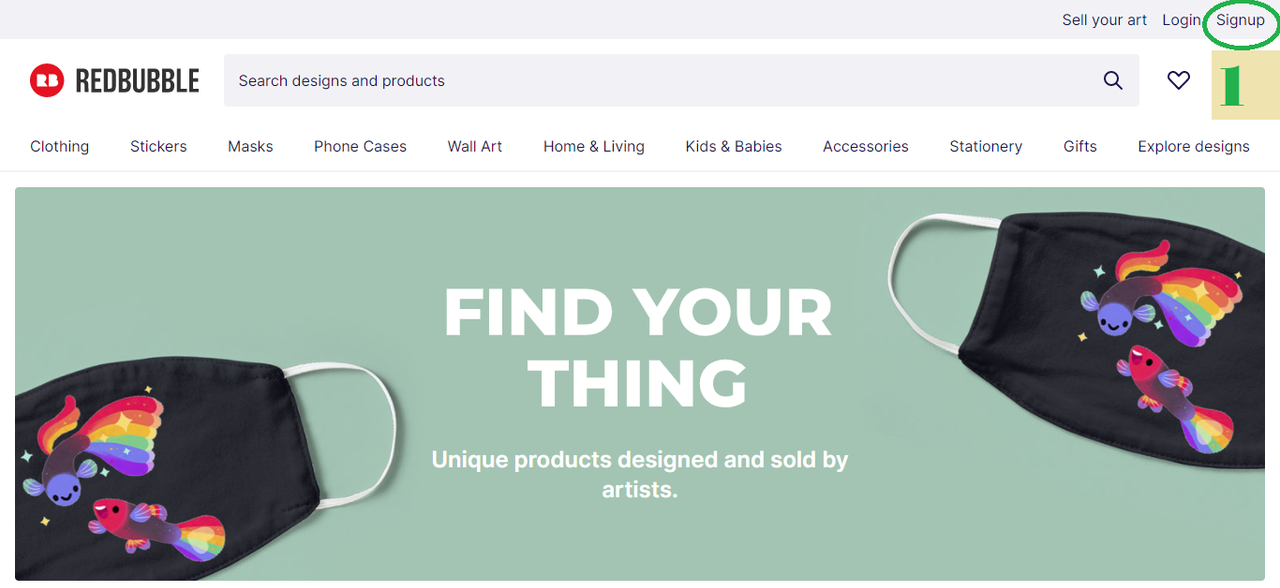

After clicking on signup you will redirect to the page shown below.
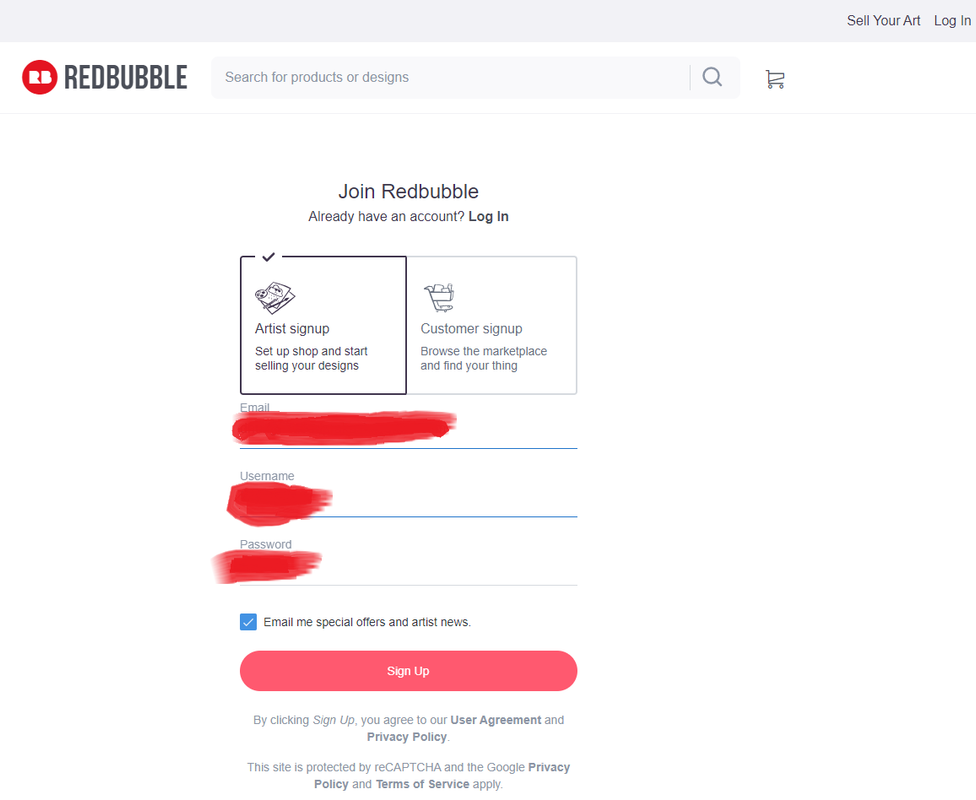

on this page, you have to create your account by entering your valid email, your required and easily memorable username, and your secure password. After filling all the required fields properly you need to submit the signup form by clicking the “Sign Up” button.
2. Redbubble Dashboard
After creating an account you will redirect to the dashboard shown below.
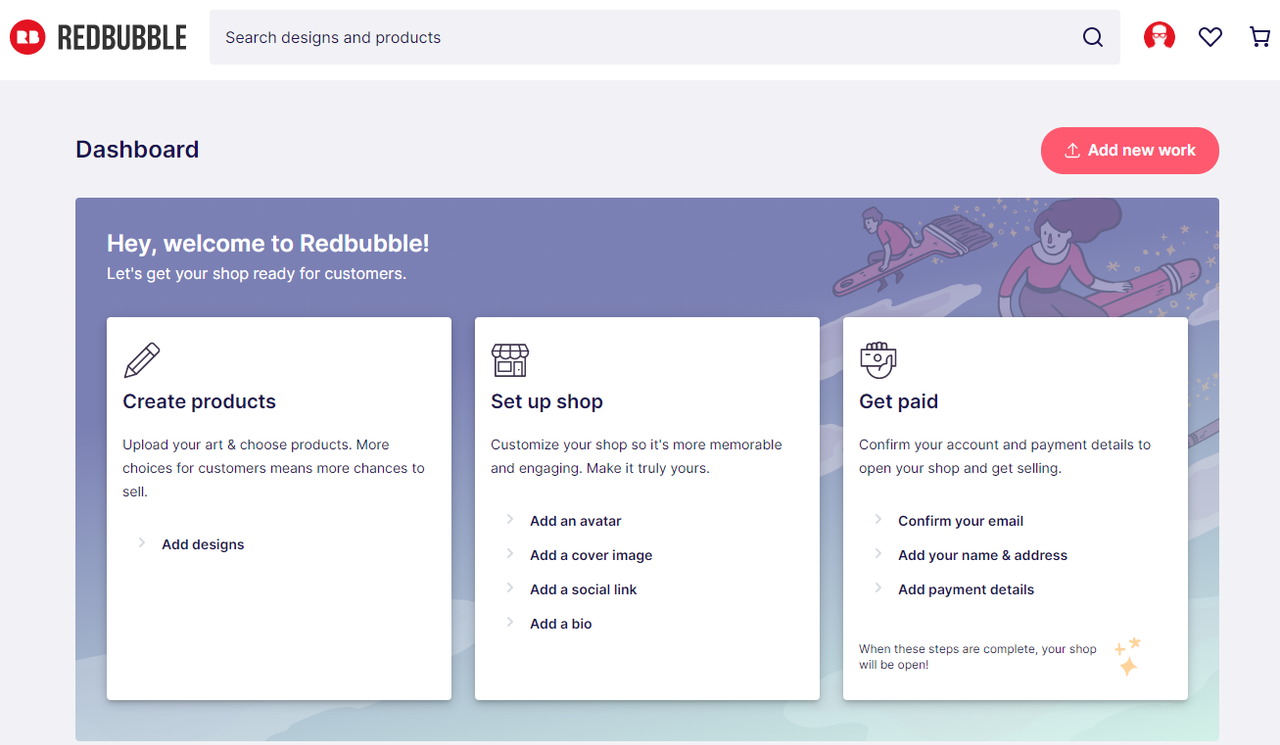

Here in the dashboard, you will see three major sections. First, one is to create products, second set up shop and the last one is Get paid as shown above. But here we start from the last one.
I. Get Paid
In the Get paid section first, you need to confirm your email. After clicking on the confirmation the email you will get an inbox with a confirmation link in your email as shown in the email screenshot below:
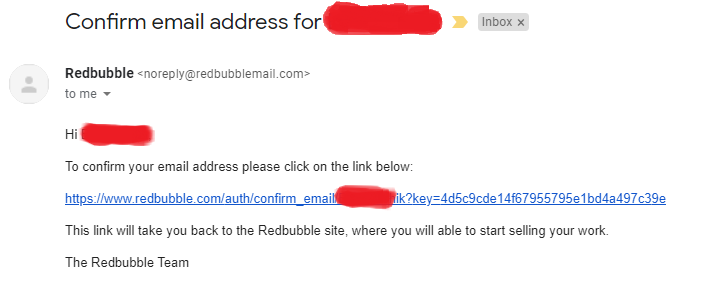

After click on the confirmation link, you will redirect to the dashboard again and you have to set up payment details. Without setting up payment details you are not allowed to add art on redbubble. And in payment details, you have to add a PayPal account or ACH bank details.
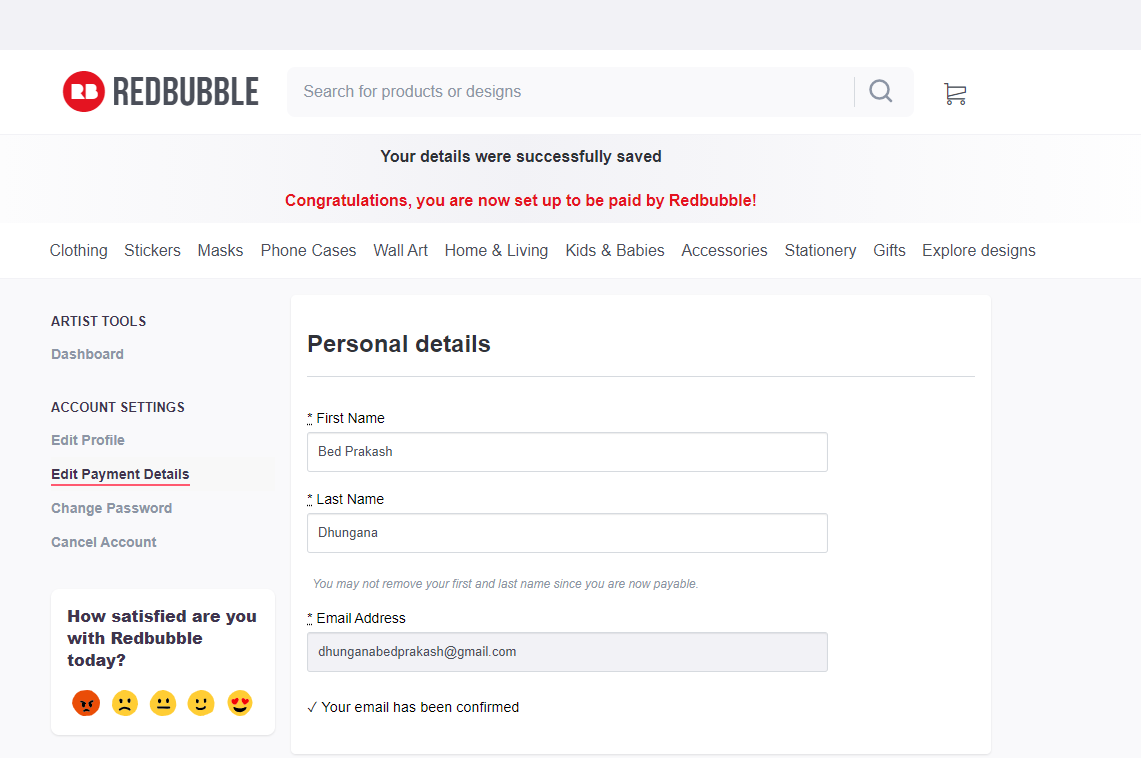
After setting up details you will see the following congratulations message as shown below in red font.

II. Setup Shop
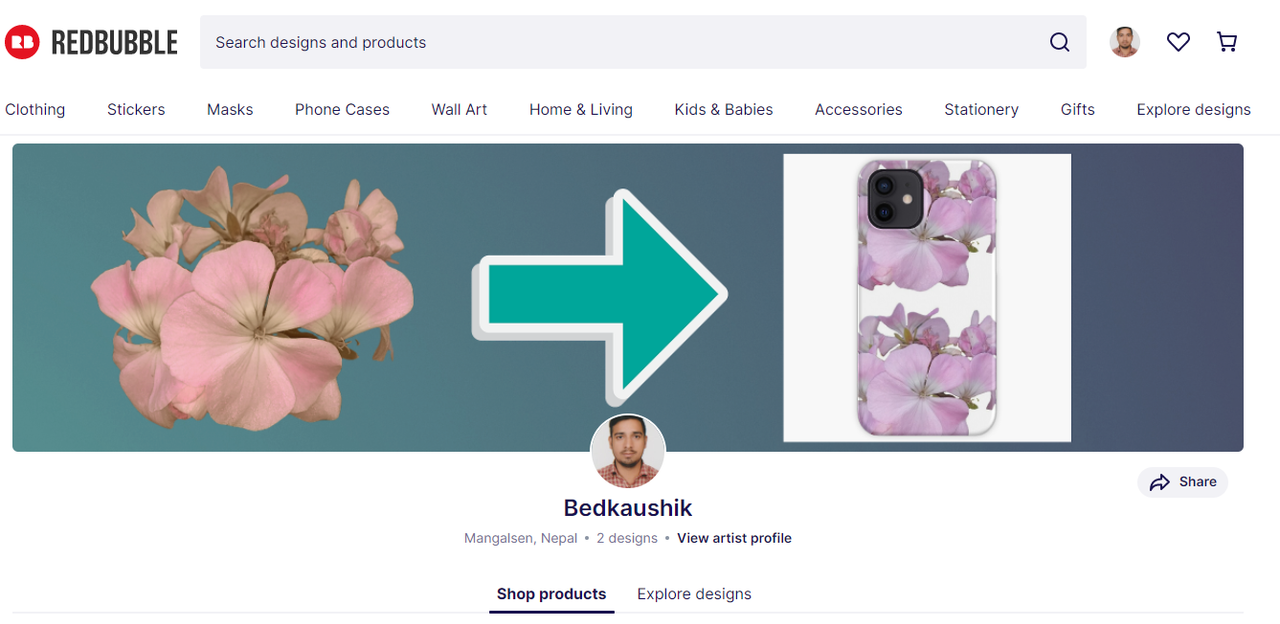
On setup Shop, you have to choose a creative cover and profile photo with an attractive description. This page must impact your audience’s mind and increase sales. Sample of Shop from is shown below.

III. Create Products
And finally, we will move to create products section. you will reach this section by profile in the right corner too.


By clicking on-sell your art you will move to add products page and there you have
3. Add Arts Section
This is the main part of redbubble. Here you need to upload your art and make your products live. Here you need to upload new work or you can copy your existing work.


When you click on upload new work you will move to the following dashboard. Here for the sample, we use the white rose. Title, description, and tags are the most important feature for generating sales.


The title must be between 4 to 8 words that describe your work. The title is the major component that helps to get organic reach on redbubble. And tags must be between 10 to 30 tags although redbubble support up to 50 tags.
After setting the title, description, and tag you need to enable the design on required products. as shown in the image below:


After setting all you need to select the media types which you upload in the artwork. Set visibility of your products/art and then tick the disclaimer of right to sell and save work.


After finishing all you will need to wait for 15 minutes to get your products live. This is the basic way of how to get starting redbubble from signup to upload arts.
All the products are published with default price with a 20% margin for you. If you need more margin on each sell then you need to increase the profit percentage setting of the product pricing.
This is the basic way besides this you need to do some promotions and make setting efficient with using google analytics and other features. These features are provided by artist tools.
Final Words
If you need detailed articles on how to use artist tools and egger to learn how to boost sell then stay with us, we will publish another article soon on the FAQ of the Redbubble Earn Money Online Website. And have some queries related to redbubble and redbubble like platforms please read our Frequently asked question answers related to Redbubble.


